
How to Install PHP & Apache on Ubuntu 15.04
Hi folks!
How are you? I hope you are doing great. In this short, quick tutorial I will show you how you can easily install and setup PHP and Apache on Ubuntu 15.04. Before going any further please update your package index:
$ sudo apt-get update
1.Installing & Testing Apache
Okay so we are good to go! Let’s begin by installing apache first:
$ sudo apt-get install apache2
After apache finishes installing, you can test it by opening localhost in your browser. It should display this page:
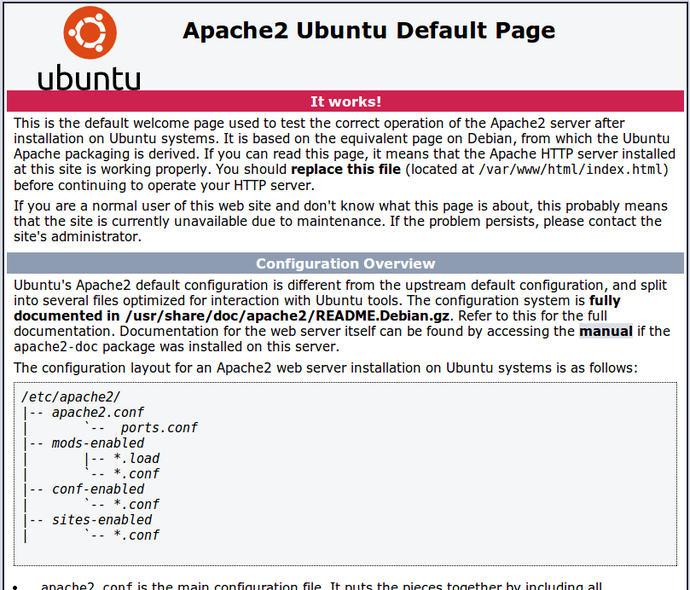
If the above page doesn’t show up then it means that you did something wrong. Start all-over again.
2.Installing MySQL
MySQL is mostly used with regular PHP applications. Let’s install it as well.
$ sudo apt-get install mysql-server php5-mysql
If it asks you for a password just key in a new password. Now we need to setup MySQL. The following command will tell MySQL to setup it’s directory structure:
$ sudo mysql_install_db
Now we need to run a helper script which modifies all of the dangerous defaults of MySQL so that our database becomes more secure:
$ sudo mysql_secure_installation
MySQL is now installed and secured. It’s time to move on to PHP itself.
3.Installing PHP
It’s easy to install PHP as well. Just key in the following command and you are done:
$ sudo apt-get install php5 libapache2-mod-php5 php5-mcrypt
So now we need to test that php has installed successfully or not. But before we do that we need to change a configuration of Apache. By default Apache prefers an index.html over an index.php file. We need to change this. Just edit the dir.conf file:
$ sudo nano /etc/apache2/mods-enabled/dir.conf
After executing the above command you will be confronted with the following content:
<IfModule mod_dir.c>
    DirectoryIndex index.html index.cgi index.pl index.php index.xhtml index.htm
</IfModule>
You just need to shift that index.php right next to DirectoryIndex. This increases the preference of index.php files.
Now close the file and restart apache for the changes to take effect:
$ sudo service apache2 restart
We should also install php5-cli as well. You never know when you will need it:
$ sudo apt-get install php5-cli
4.Testing Everything
Create a new file in /var/www/html dir and save it with info.php filename:
$ sudo nano /var/www/html/info.php
Add the following content to this file:
<?php
phpinfo();
?>
Now open localhost/info.php in your browser. It should display a page similar to this:
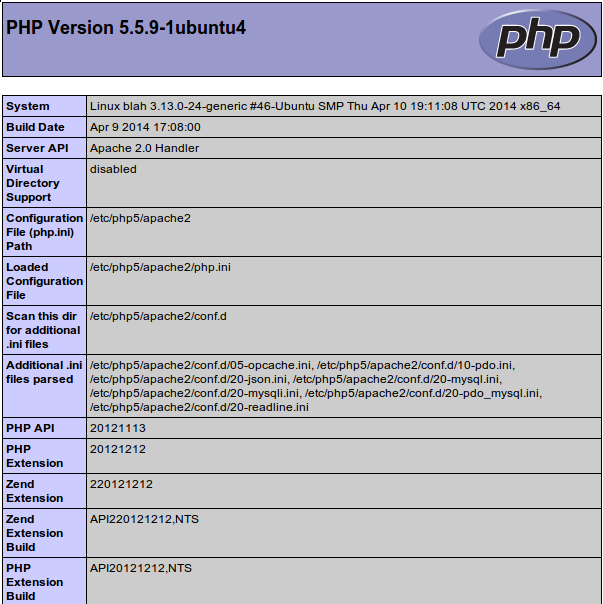
Congratulations! Your php and apache installation is working perfectly!
Now we can move forward and create a simple dynamic website containing more than one page. Create a directory on your Desktop and create a symlink to it in the /var/www/ dir so that we can edit the contents in our home directory and don’t have to type sudo before editing the files:
$ mv /var/www/html /var/www/html-bak
$ mkdir ~/Desktop/html
$ sudo ln -s ~/Desktop/html /var/www/
Now let’s create the separate .php files.
$ touch ~/Desktop/html/index.php ~/Desktop/html/welcome.php
Now edit the newly created index.php file and add the following content to it:
<!DOCTYPE html>
<html>
<head>
	<title>Who Am I?</title>
</head>
<body>
<div class="wrapper">
	<h3>Who are You?</h3>
	<form action="welcome.php" method="post" >
		<input name="q" placeholder="Name" type="text"></input>
		<br>
		<button type="submit">Submit</button>
	</form>
</div>
</body>
</html>
Edit the welcome.php file next and add the following content to it:
<!DOCTYPE html>
<html>
<head>
	<title>Who Am I?</title>
</head>
<body>
<div class="wrapper">
	<h2>Hello, <?php print($_POST["q"]); ?></h2>
   <h3>Nice to meet you!</h3>
</div>
</body>
</html>
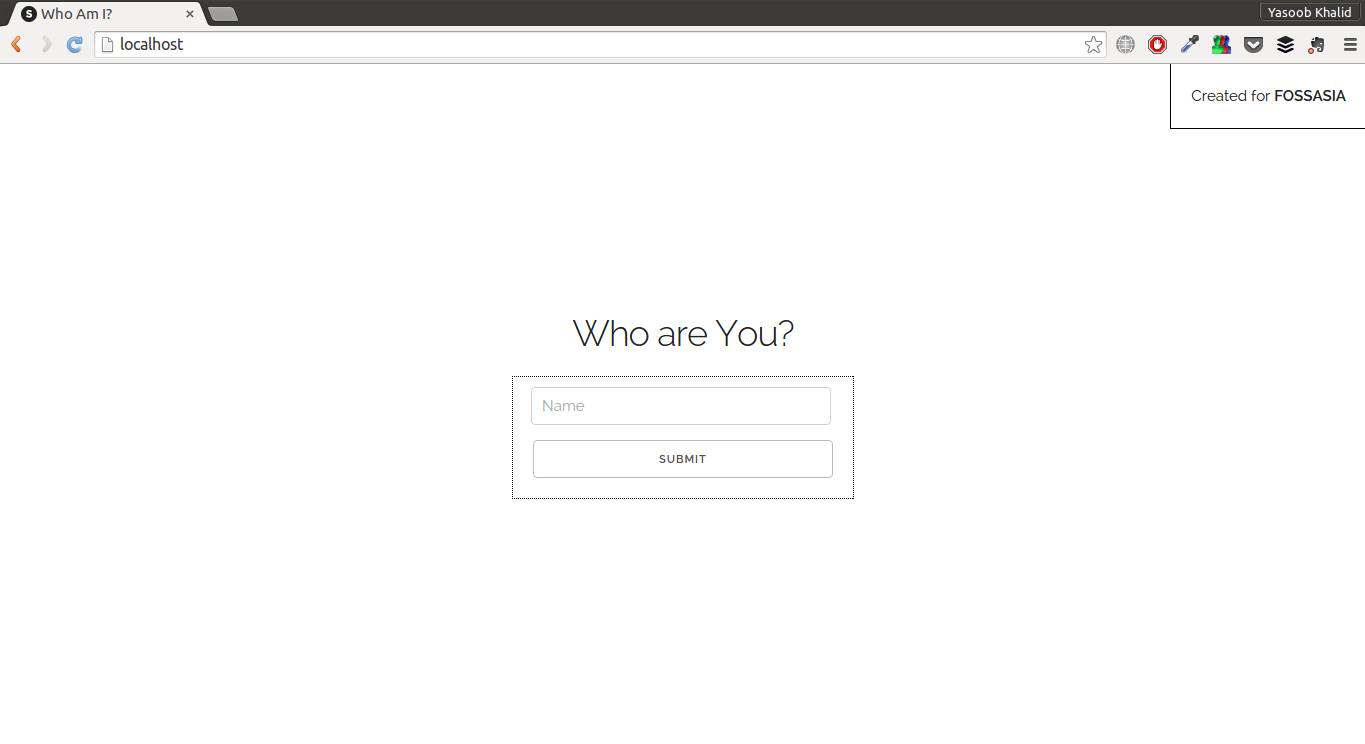
Now if you try to navigate to localhost you will see that our website is displaying correctly:

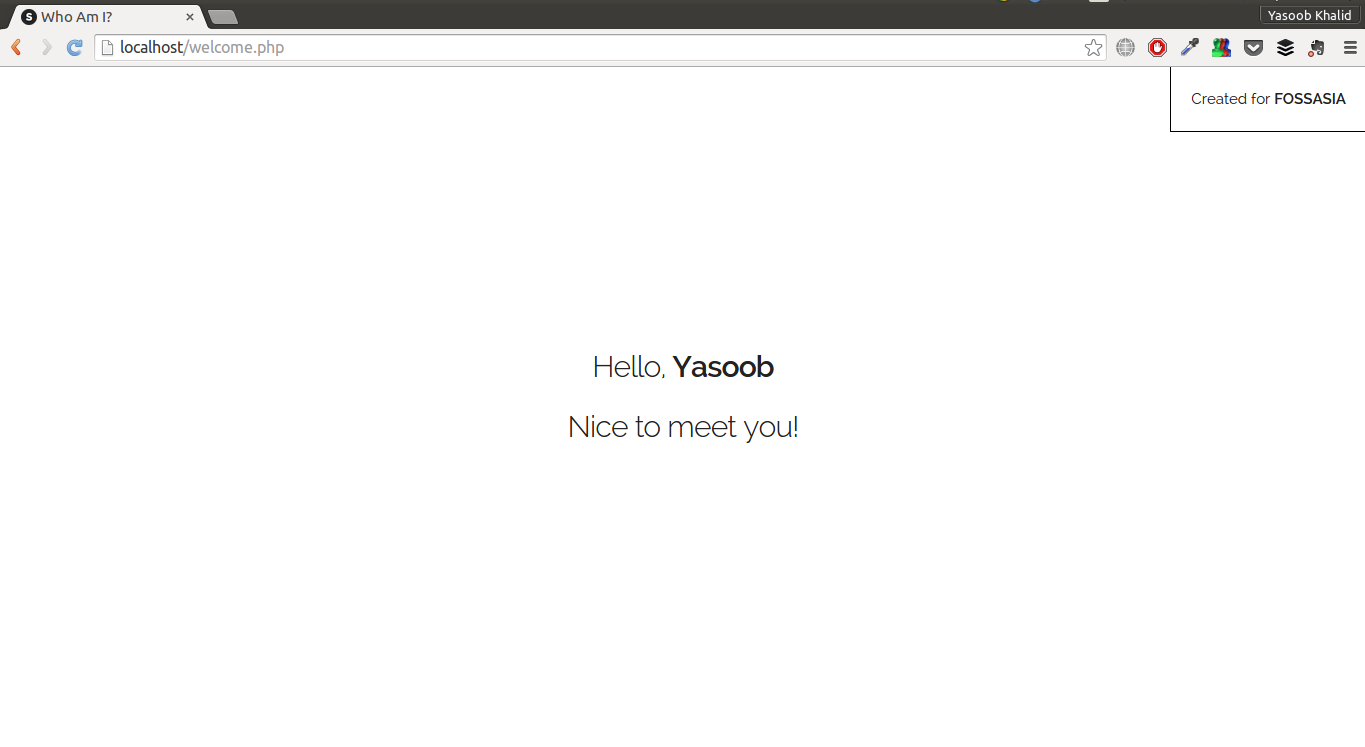
Try entering your name in the text field and press enter. You will see that the dynamic aspect of our website is also behaving correctly.
I updated the css a bit and used skeleton.css. I have added the screenshots below:
Cheers!
Exercise for Reader:
- Use
Skeleton.cssto make it more user-friendly